How To Repair Roof Flashing
Recently noticed water pooling or leaking around your chimneys, skylights, or walls? There’s a good chance your roof flashing needs a professional fix. Colorado Springs homes rely on flashing to protect high-risk joints because even one weak spot can lead to thousands in damage.
In this blog post, we’ll explain how to repair roof flashing and cover essential safety tips. That way, you’ll know when to call local professionals like RD Construction, LLC, for help with your roofing in Colorado Springs.
What Is Roof Flashing?
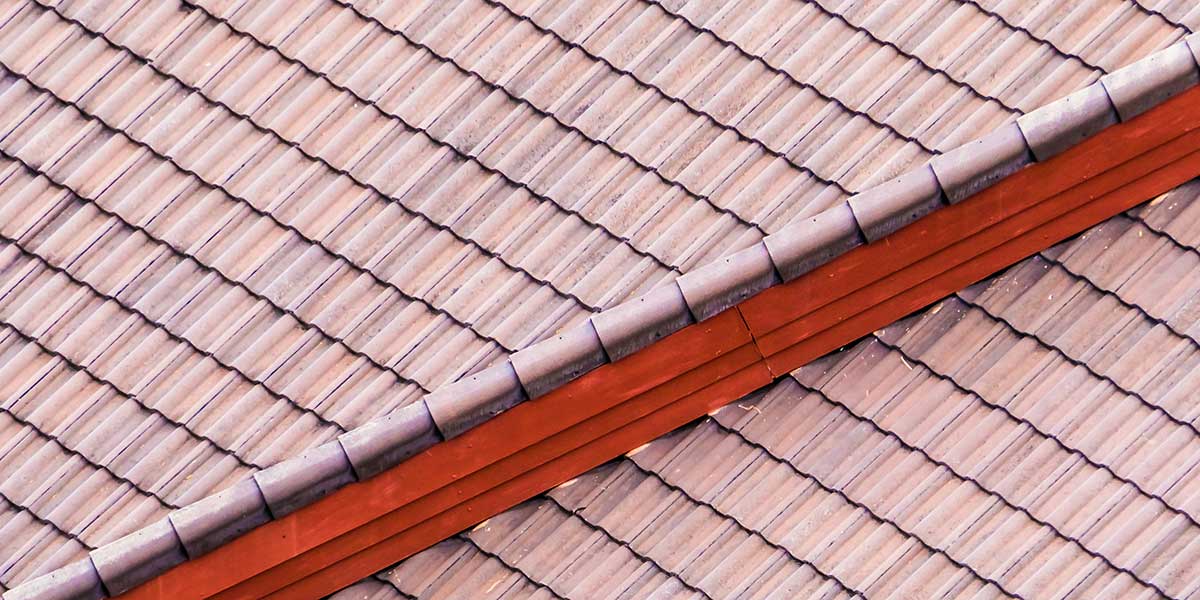
Knowing how to repair roof flashing requires understanding what it protects. The flashing is a shield for vulnerable roof spots, such as where chimneys, vents, skylights, and walls intersect with the shingles. It directs runoff into gutters instead of letting it collect near roof seams or drip through gaps, so flashing plays a crucial role in averting water damage.
Typically, roof manufacturers use thin metal like aluminum or galvanized steel for flashing because it resists rust and holds its shape under pressure. Each type of flashing serves a specific purpose depending on the shape and layout of your roof. For example:
- Step flashing forces water away from the walls where shingles meet vertical surfaces.
- Continuous flashing carries water along straight roof-to-wall connections.
- Vent pipe flashing seals tightly around circular vent shafts to stop water from dripping inside them.
- Valley flashing channels water down the middle of two connecting slopes.
No matter which type of roof flashing it is, you can always contact professionals like RD Construction, LLC, for a full inspection and expert recommendations.
Signs You Need To Repair Your Roof’s Flashing
Flashing failure usually shows up as small, visible damage before turning into major water leaks. If you know where to look, you can catch these common signs of flashing issues early:
- Moisture stains near the ceiling corners or vents.
- Rust, cracks, or missing sections allow water to bypass the barrier and soak into the wood.
- Dried sealant or crumbling caulk around flashing lets water slip beneath the surface.
- Mold growth near flashing areas forms when trapped moisture cannot dry out.
Regularly checking these spots is one of the simplest roof leak prevention tools.
Roof Flashing Repair Safety Warnings
Once you’re familiar with the setup, learning how to repair roof flashing might seem straightforward. However, the work involves ladders, sharp tools, and angled surfaces, which can make this job risky.
Wet shingles cause slips. Working near skylights or edges increases the chance of falling. Using the wrong materials or skipping fasteners leads to weak seals that leak again.
So, safe roofing maintenance requires proper gear, balance, and experience. Leave the repair work to licensed professionals like RD Construction, LLC. Learn how the experts handle flashing repairs below.
How To Repair Roof Flashing in Seven Steps
Here’s a step-by-step guide to replace damaged flashing and avert structural problems.
1. Inspect the Flashing and Gather Roofing Materials
Check for rust, cracks, or lifted edges where water can enter. With repairs for all types of roofing materials, experts collect replacement flashing, roofing nails, snips, pry bars, roofing cement, and caulking guns.
2. Remove Shingles and Loosen the Damaged Flashing
Lift the shingles gently using a pry bar to avoid cracking them. Remove the nails and slide out the flashing without tearing the underlayment or damaging nearby roofing.
3. Clean the Surface Beneath the Flashing
Scrape away old sealant, dirt, and debris with a wire brush. Cleaning the area creates a smooth surface so that the new flashing sits flat and seals tightly against the roof.
4. Cut and Fit the New Flashing
Use snips to cut the flashing to size. Bend it to match the slope or joint you’re sealing. Dry-fit it in place to check alignment before you secure it.
5. Secure The Flashing with nails
Nail the new flashing along the top edge, spacing the fasteners evenly. Overlap each piece so that water flows without slipping underneath the flashing.
6. Complete the Sealant Application
Apply roofing cement beneath seams and across nail heads. Press the flashing into place. Smooth the sealant with a putty knife to finish the sealant application.
7. Reinstall Shingles and Inspect the Repair
Replace any shingles you removed and test the area with a garden hose. Seeing no water leaking through indicates a successful job of sealing the roof and completing the repair.
Call RD Construction, LLC, for the Best Roof Flashing Repair in Colorado Springs, Colorado
That’s how to repair roof flashing like a roofing professional. Call RD Construction, LLC, at 719-233-7344 today for roof repairs, expert flashing installations, other professional roofing services, painting services, and concrete.